Product designer
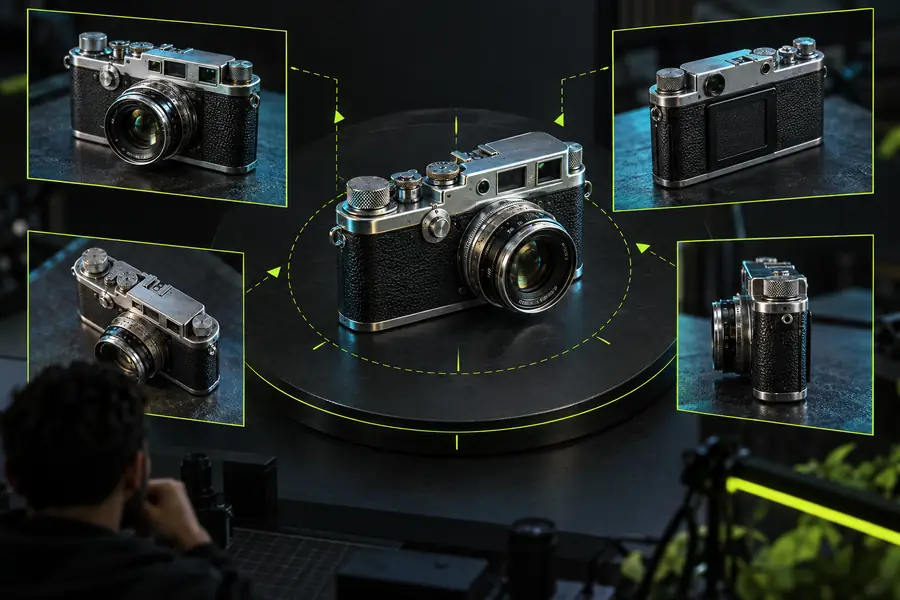
You have front, side, and three-quarter views of a small object.
Use the extra evidence to review proportions before refining the concept.
image to stlMulti-view workflow
A multiple images to 3d model workflow gives the tool more visual evidence to compare, helping you think through shape, hidden areas, and surface continuity before you use the result.
Compare inputs
The main difference is not just the number of files. It is how much visual evidence the workflow has when it interprets depth, proportions, and areas hidden from view.
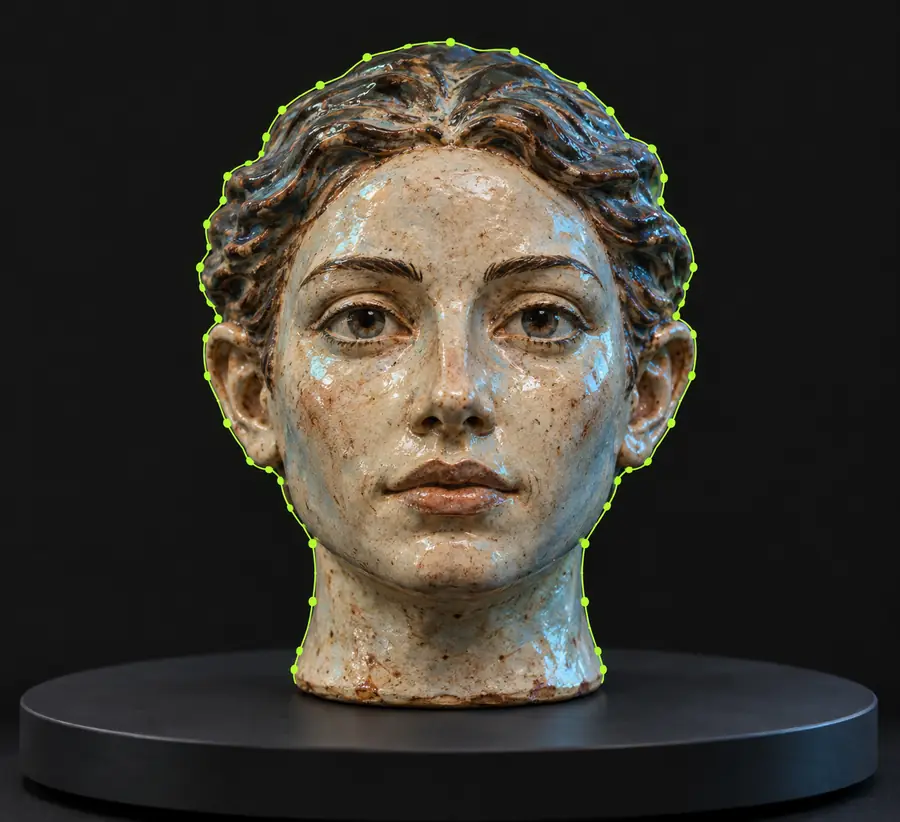
 One-view reference
Expanded model concept
One-view reference
Expanded model concept
Use the divider to inspect silhouette, pose, and surface continuity.
One-view referenceExpanded model conceptContinue exploring
Structural comparison
Comparing one image with multiple images makes the trade-offs easier to see before you choose an input strategy.
Reference coverage
Single image
One viewpoint sets most of the visual evidence.
Multiple images
Several viewpoints provide more angles to compare.
Depth inference
Single image
Depth must be inferred from a limited view.
Multiple images
Overlapping views can give stronger spatial clues.
Hidden surfaces
Single image
Backs, undersides, and sides may stay ambiguous.
Multiple images
Additional images can reveal more of those areas.
Shape consistency
Single image
Small proportions are judged from one perspective.
Multiple images
Proportions can be checked across multiple images.
Texture interpretation
Single image
Visible texture comes from one lighting and angle setup.
Multiple images
Repeated details can be cross-checked across views.
Preparation effort
Single image
Fewer files are needed to begin.
Multiple images
Images need consistent subject, framing, and useful coverage.
Best fit
Single image
Quick concept exploration from a clear reference.
Multiple images
Objects where form and occluded areas matter more.
Choose an input path
Start with the workflow that matches your next decision: explore a shape, prepare a file, or understand the manual alternative.
You have front, side, and three-quarter views of a small object.
Use the extra evidence to review proportions before refining the concept.
image to stlYou have several reference photos but are unsure how they become depth.
Begin with a guided 2D-to-3D process and inspect each assumption.
how to make 3d model from 2d imageYou need to decide between image-led generation and hands-on modeling software.
Compare the workflows before committing to manual reconstruction.
3d model from image vs softwareReview the result
A model can look convincing from one angle and still need review. Use the same reference set to check the parts that matter for your intended use.
Compare the silhouette and proportions against the clearest reference view.
Look for guessed backs, undersides, joins, and gaps where views do not overlap.
Rotate the result and confirm its detail level matches the next step in your workflow.
Visual examples
Use these examples as visual prompts for thinking about subject coverage, surface detail, and the kind of result you want to review.
 Character
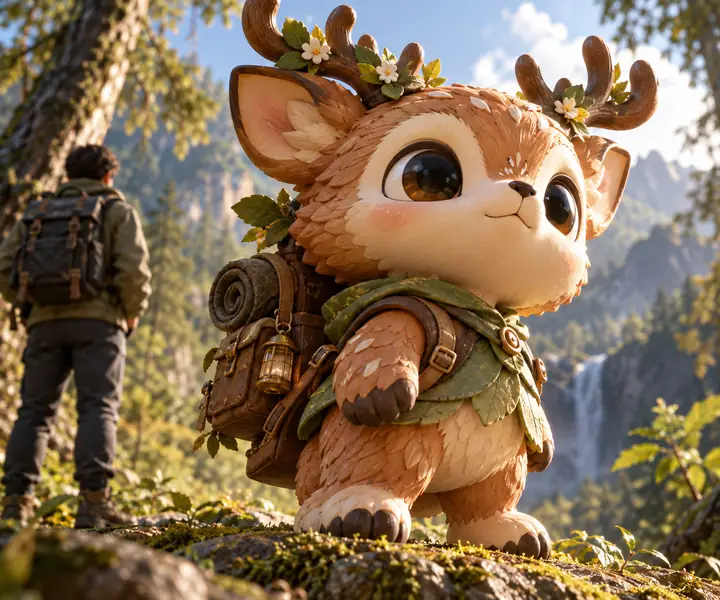 Creature
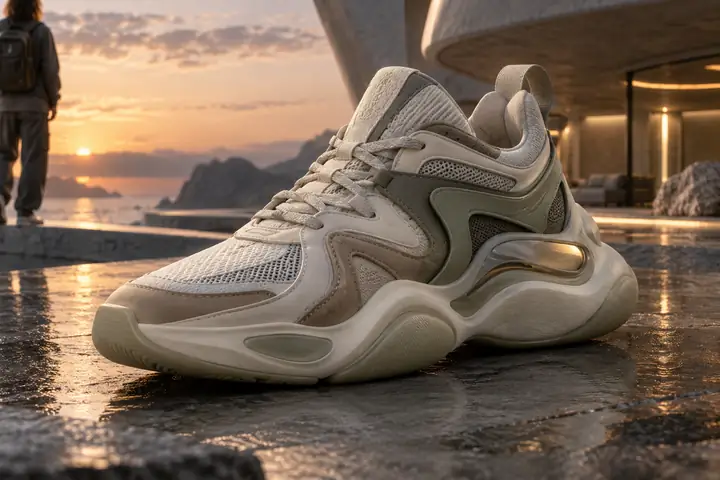 Product
Start with your references
Add a useful description, provide the visual context you have, and send the workflow forward for review. The more deliberately you compare the result, the easier it is to decide what needs refinement.
Create my 3D modelCommon questions
It means using more than one 2D reference to help interpret a subject as a three-dimensional form. The references may show different sides, angles, or details that are not visible in one view.
Multiple images can provide more evidence about proportions, depth, and surfaces hidden from a front-facing view. They do not remove the need to review the result, but they can make comparison more deliberate.
Choose views of the same subject that show different sides clearly. Consistent framing, useful overlap, and visible details make it easier to compare the references during review.
Compare the silhouette and proportions against the reference set, then rotate the result to inspect hidden areas. Pay particular attention to backs, undersides, joins, and details that were not visible in every image.